Plastic injection molding is a complex and precise manufacturing process that transforms raw plastic material into a wide range of products with intricate shapes and precise dimensions.
Product Design: The process begins with a detailed product design or concept. Design considerations include functionality, aesthetics, material selection, and manufacturability.
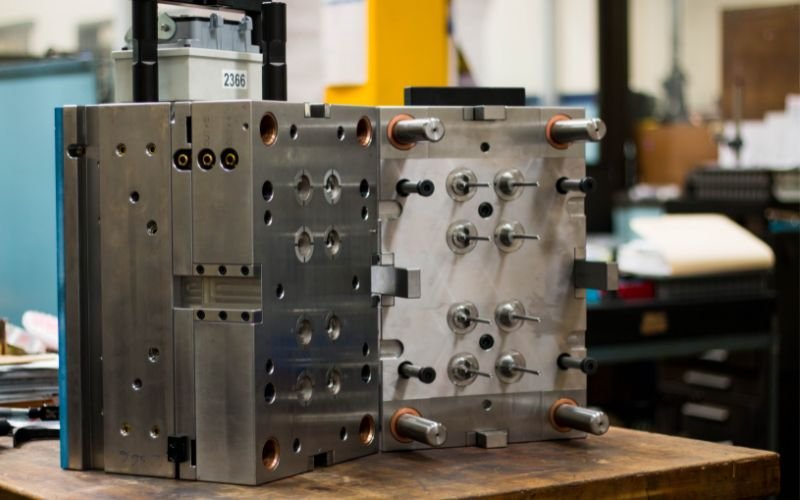
Mold Design: A mold, also known as a tool or die, is created based on the product design. The mold consists of two halves – the cavity and the core – that create the shape of the final product.
Material Selection: Choose the appropriate plastic material based on the product’s requirements, considering factors like mechanical properties, chemical resistance, and temperature stability.
Mold Fabrication: Skilled toolmakers manufacture the mold using precision machining techniques. The mold’s complexity and size influence the time and cost of fabrication.
Step 2
Injection Molding Process
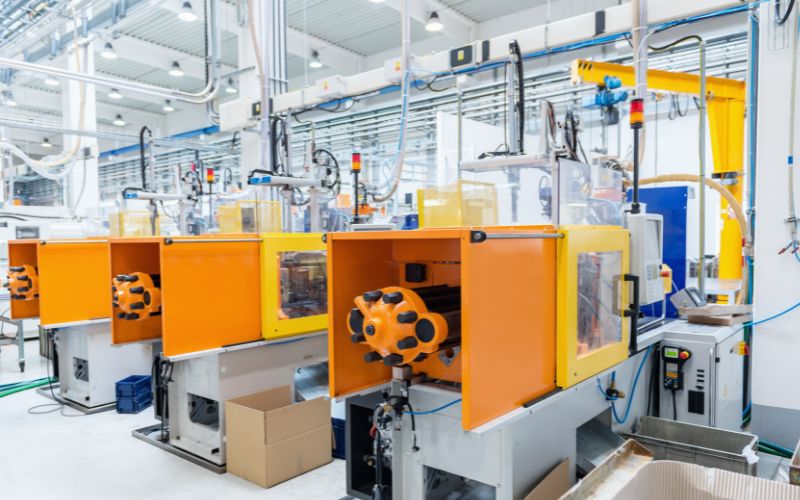
Clamping: The mold is mounted onto the injection molding machine. The two halves are securely closed using hydraulic or mechanical force to ensure proper alignment.
Injection: Plastic pellets, known as resin, are fed into the injection molding machine’s hopper. The pellets are heated and melted within the barrel to a consistent molten state.
Injection Pressure and Speed: The molten plastic is injected into the mold’s cavity under high pressure. The injection speed and pressure are controlled to fill the mold and prevent defects like voids or sink marks.
Cooling: After the mold is filled, the plastic inside begins to cool and solidify. Cooling time is carefully controlled to achieve the desired part quality.
Holding Pressure: Some molds include holding pressure to compensate for material shrinkage during cooling. This ensures the part retains its shape and dimensions.
Step 3
Mold Opening and Ejection
Cooling Completion: Once the plastic has sufficiently cooled and solidified, the mold opens, revealing the solidified part inside.
Ejection: The mold ejector pins push the part out of the mold cavity. Ejection must be gentle to avoid damaging the part’s surface.
Step 4
Post-Processing
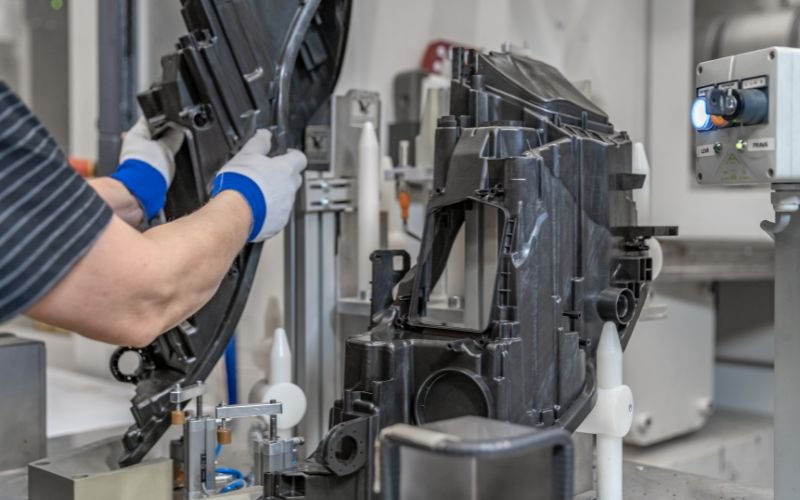
Trimming and Deflashing: Excess material, called flash, is removed from the part. Trimming may involve manual or automated processes to achieve the final shape.
Secondary Operations: Depending on the product’s requirements, additional processes like drilling, machining, or assembling may be performed.
Step 5
Quality Control and Inspection
Visual Inspection: Each part is visually inspected for defects, such as surface imperfections, color inconsistencies, or distortion.
Dimensional Checks: Parts are measured and compared to the specifications outlined in the design. Advanced measurement equipment ensures accuracy.
Step 6
Packaging and Shipping
Packaging: Finished parts are carefully packaged to prevent damage during transportation.
Shipping: The parts are shipped to the customer or assembly facility for integration into larger products or distribution to end-users.
Request A Quote Now
Fill out the form below, and we will be in touch shortly.